
Last updated November 15, 2026
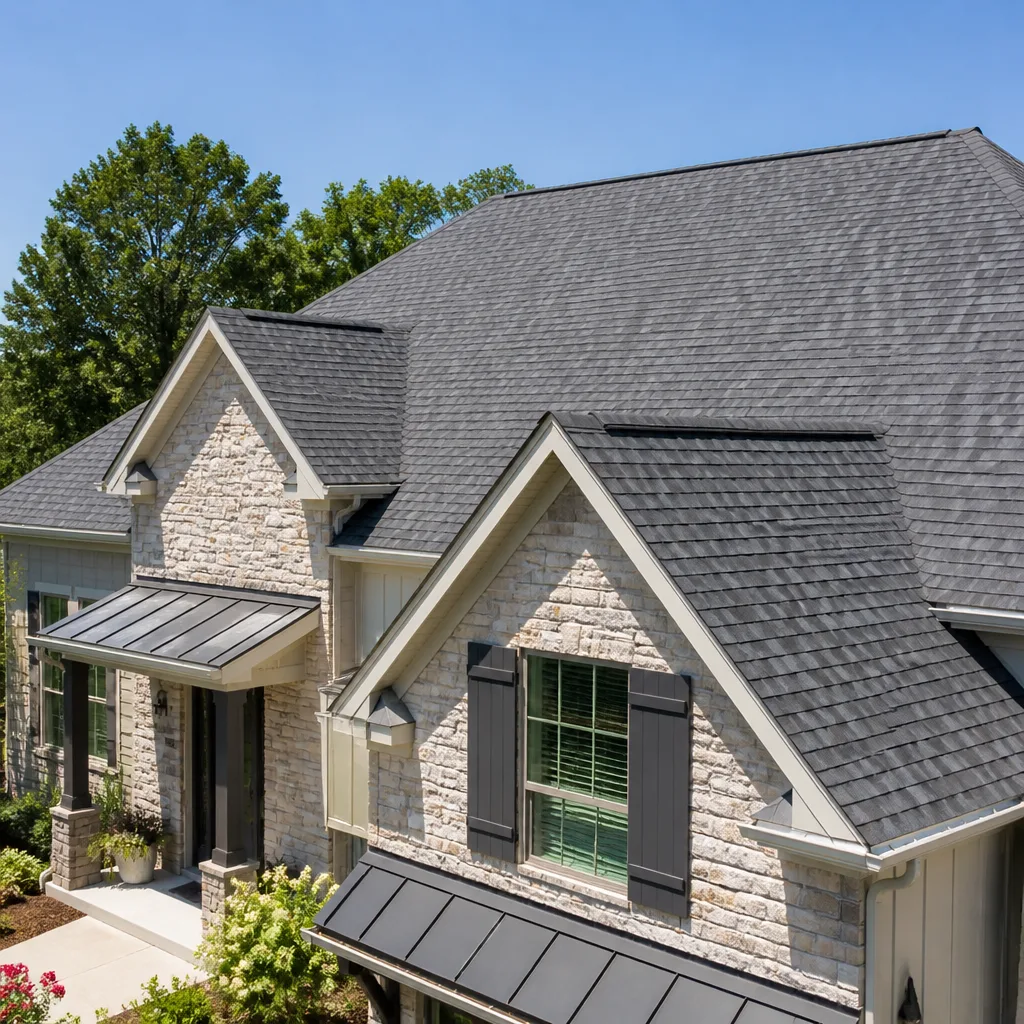 Architectural shingles
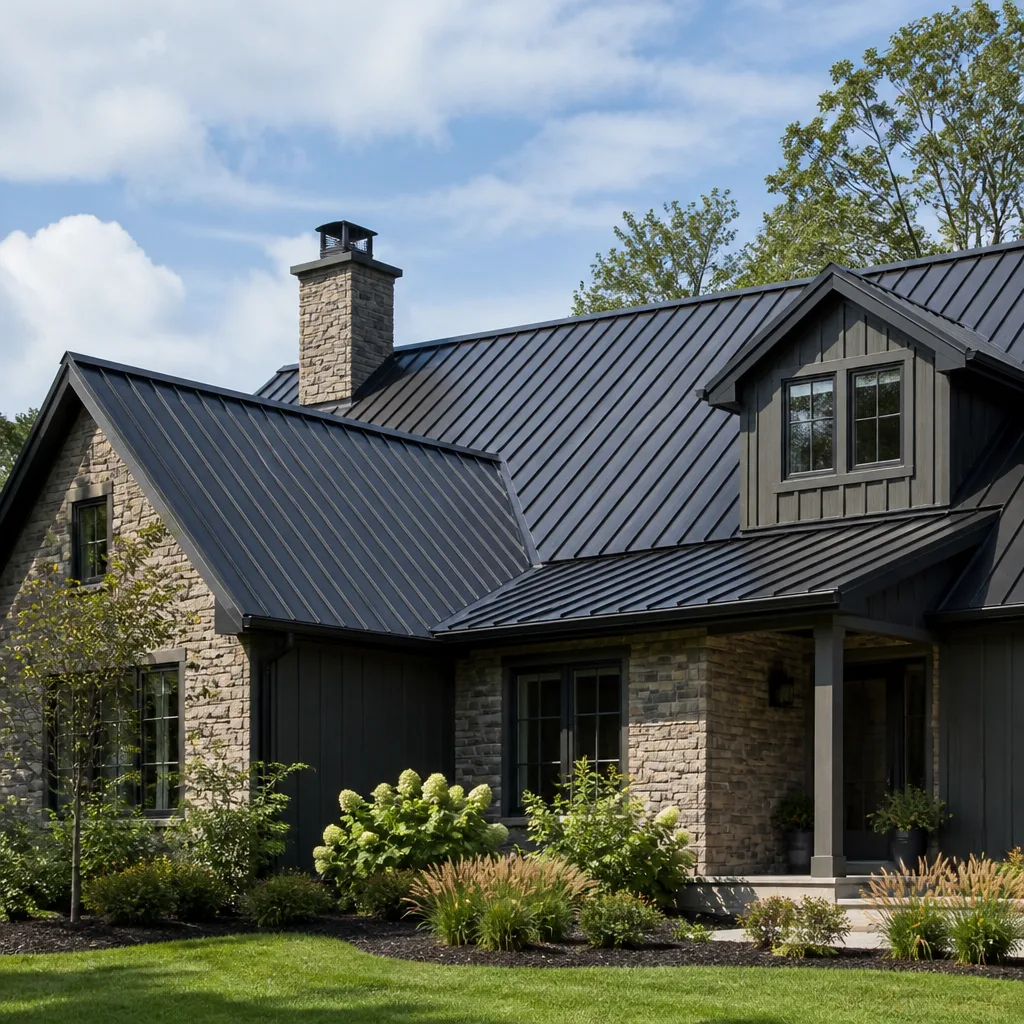 Metal roofing
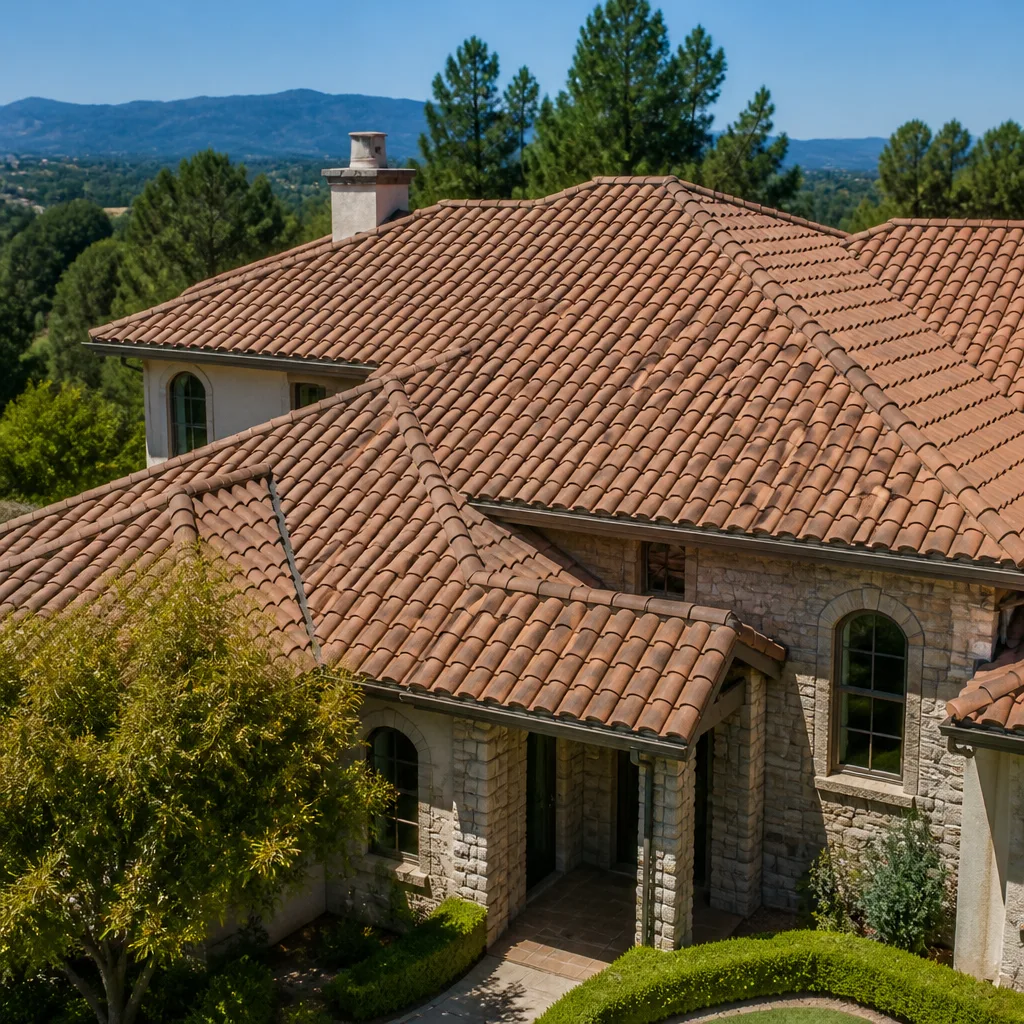 Tile roofing
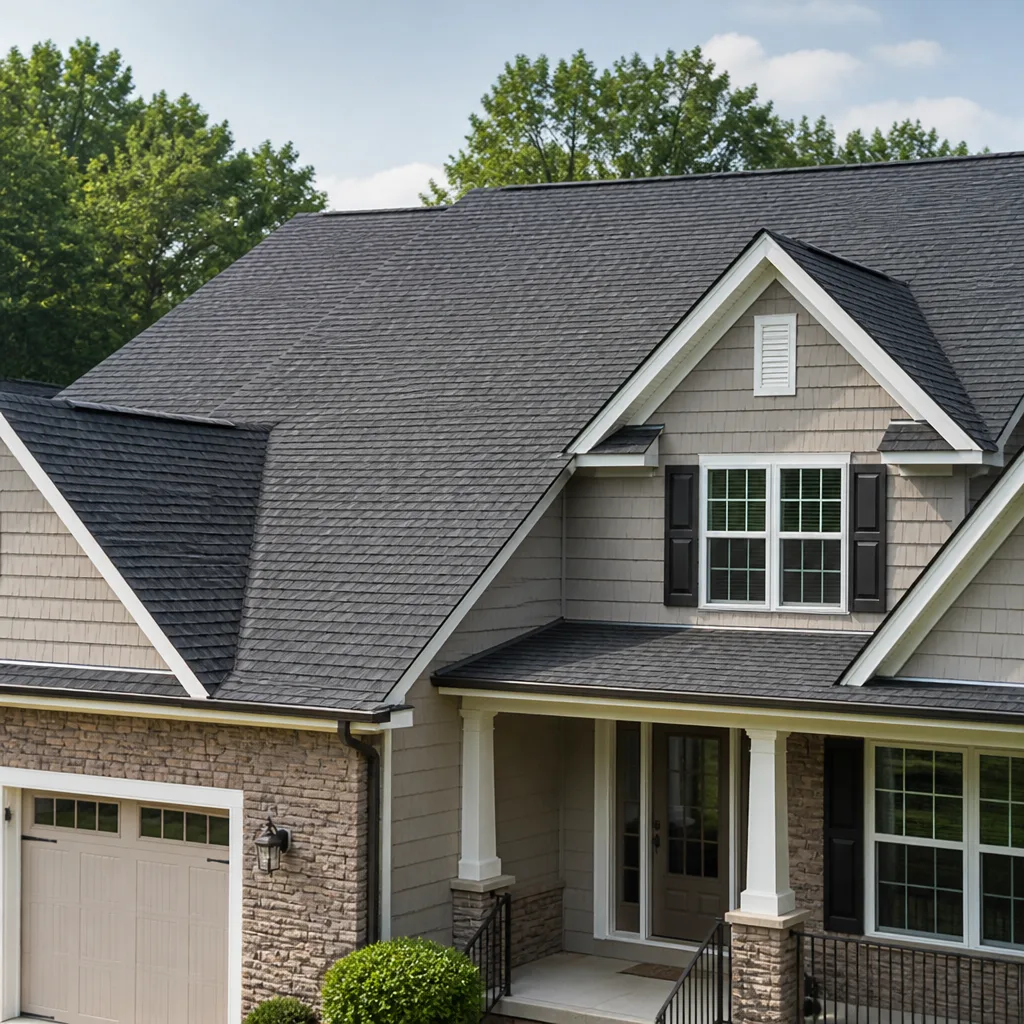 GAF
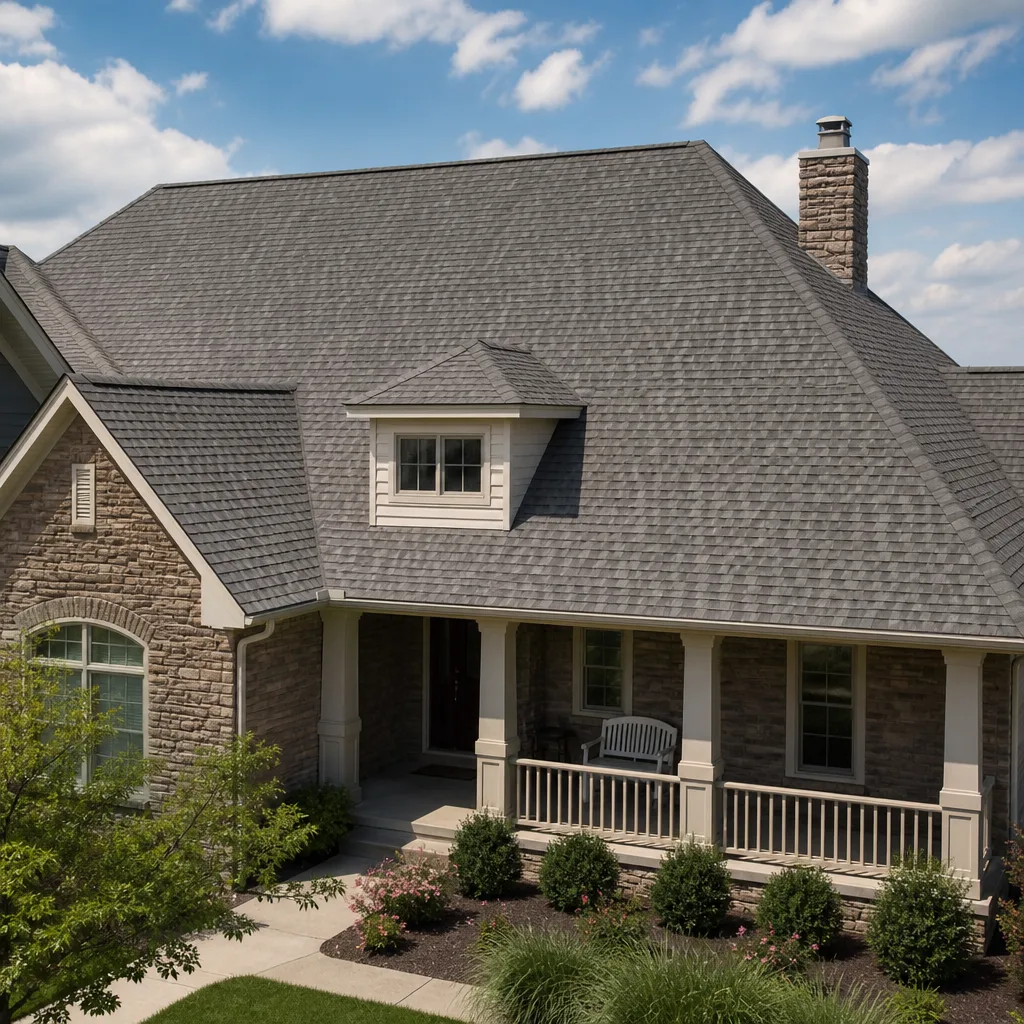 Owens Corning
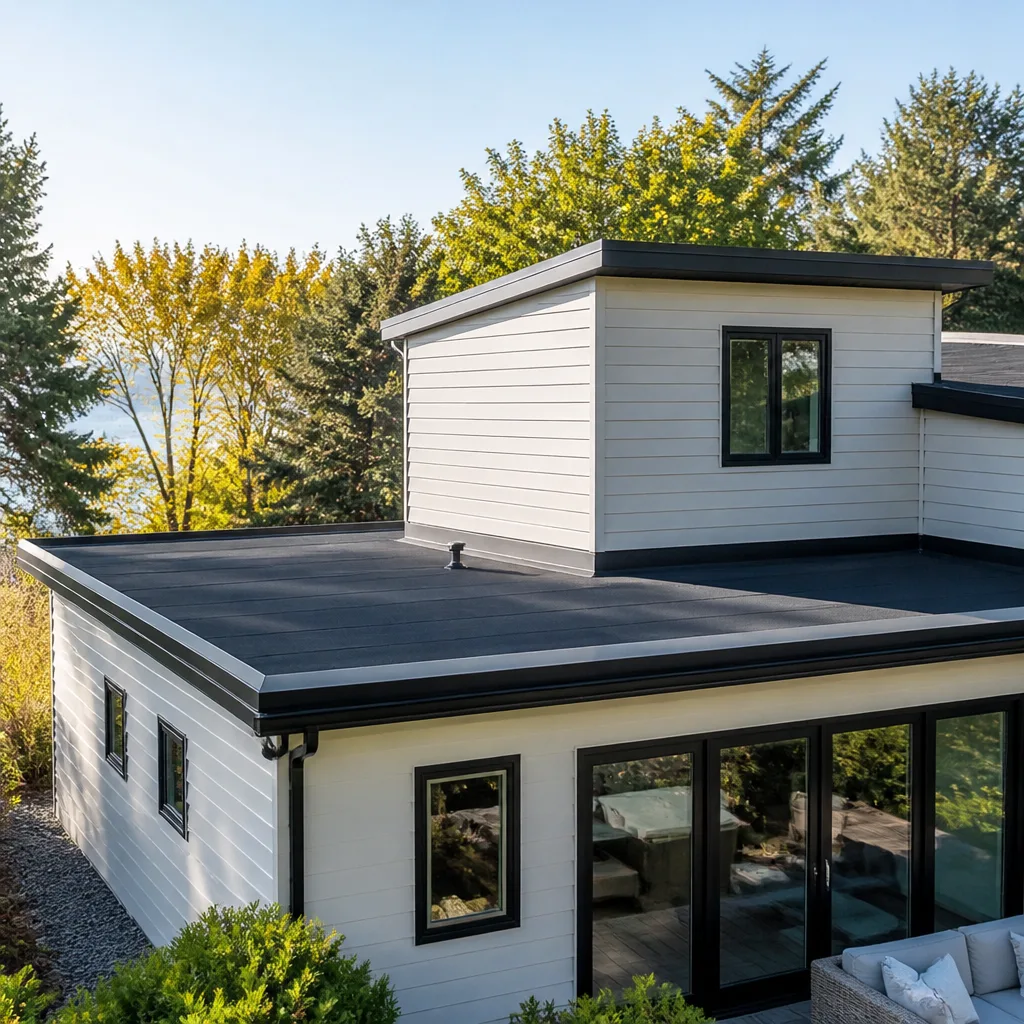 Flat & low-slope
Free roof inspection with deck photos before we talk money - GAF and Owens Corning certified installation
The Complete Roof Repair Guide for Syracuse Homeowners
Most roof repairs in Syracuse fail for a reason that has nothing to do with the shingles. They fail because someone patched the spot where the water showed up instead of asking why the water got there. In a city that measures its winters in feet of snow rather than inches, that distinction matters more than it does almost anywhere else in the country.
This guide walks through how a roof actually fails here, what a repair that lasts five winters looks like compared to one that lasts one, and how to know which you’re being sold. You’ll learn the inspection order that makes sense for Central New York, the tests you can run yourself before you call anyone, and where material choice changes the outcome.
Quick Answer
A roof repair in Syracuse needs to solve the water path, not just the visible leak, and it needs to survive freeze-thaw cycling that attacks flashing, underlayment, and decking at different rates. The repair that lasts five winters is almost always the one that starts with a real inspection of the roof assembly rather than a tube of sealant applied to the spot where the ceiling stained. If a roofer can’t explain how water is getting in and what happens to that path when snow sits on the roof for months, keep looking.
Styles & brands we work with
- Architectural shingles
- Metal roofing
- Tile roofing
- GAF
- Owens Corning
- Flat & low-slope
Table of Contents
- Why Syracuse Roofs Fail Differently
- The Inspection Order That Reflects How Syracuse Roofs Actually Fail
- Freeze-Thaw Cycling: The Quiet Damage Under the Surface
- Why Ice-and-Water Shield Placement Decides Whether a Repair Holds
- When a “Small Repair” Is Really a Decking Warning
- The Full Repair Lifecycle, Stage by Stage
- Cheap Repair vs. Correct Repair: The Three-Winter Math
- Common Mistakes to Avoid
Why Syracuse Roofs Fail Differently
Syracuse gets more than 127 inches of snow in an average winter, which puts it among the five snowiest large cities in the country. That single fact changes nearly everything about how a roof ages. Snow doesn’t just sit there as weight. It melts at the bottom, refreezes at night, expands, and works its way into places water alone never reaches.
Layer onto that a humid summer season and repeated swings across the freezing mark in a single week, and you get a roof assembly that’s being asked to move constantly. Materials expand and contract. Sealants that were flexible in October get brittle by February. The metal of your flashing grows and shrinks at a different rate than the shingles around it, and after enough seasons the bond between them opens up.
What this means practically: the failure points on a Syracuse roof tend to be the seams, penetrations, and transitions, not the open field of shingles in the middle of a slope. That’s true anywhere, but here it’s true by a wider margin because those are the places where two materials meet and where snow sits longest. When we look at a roof in Syracuse, the field shingles usually tell us less than the valleys, the chimney flashing, the step flashing along a wall, and the eave line do.
There’s a second local wrinkle worth understanding. The snow load itself stresses the roof structure, and a compromised roof deck flexes more under weight than a solid one. A flexing deck opens nail holes, and an open nail hole is a leak. So the snow doesn’t just cause ice dams and meltwater intrusion. It works the entire assembly in a way a mild-winter climate never does. That’s why treating this as a series of isolated leaks tends to miss what’s actually happening.
What the Snow Load Really Does to the Layers
Think of your roof as a stack: decking at the bottom, then underlayment, then flashing and shingles on top. Each layer responds to the snow load and the freeze-thaw cycle at its own pace. The decking flexes and dries slowly. The underlayment bends with the deck and cracks at the seams over time. The shingles take the direct abrasion from snowmelt and the sun in summer. Because each layer ages differently, the weak point in the stack shifts from season to season, and a repair that addresses only the top layer can miss the layer that’s actually failing.
The Inspection Order That Reflects How Syracuse Roofs Actually Fail
Here’s where a lot of generic advice falls short. Most inspection checklists start at the field shingles and work outward. In our experience, that order is backwards for this climate, because it leads the inspector to find cosmetic issues first and structural issues last. The order below follows the way damage actually propagates here.
- Start at the attic and the underside of the decking. Look for staining, soft spots, daylight, and any sign of frost or condensation on the framing. The attic tells you what the top of the roof has been hiding. If the decking shows trouble, everything else on the roof is secondary.
- Then the eaves and the first course. This is where ice dams form and where the freeze-thaw cycle does the most cumulative work. Check for lifted shingles, soft fascia, and staining on the soffit.
- Then all the penetrations. Chimney, plumbing vents, skylights, and any wall-to-roof transition. The flashing here moves at a different rate than the shingles, so this is a prime failure point.
- Then the valleys. Two slopes meet and dump water into a channel. Snow sits in that channel longer than anywhere else. Check for worn valley material and water tracking under the edges.
- Then the field shingles on each slope. By the time you get here you already know whether the roof is failing from the top down or the bottom up, which changes what the shingle condition actually means.
- Then the gutters and drainage path. A roof that can’t shed meltwater fast enough backs it up under the shingles. Drainage is part of the roof system, not an accessory to it.
We built our Stratford Roof Repair inspection process around this sequence because it consistently surfaces the problems that cause recurring leaks. It’s also why we offer roof repair as a standalone engagement. You can get the assessment without committing to anything, and you’ll know which layer of the assembly is actually failing before the first dollar is spent.
Freeze-Thaw Cycling: The Quiet Damage Under the Surface
Frost damage in Syracuse is a slow process and then a sudden one. Nothing happens for years while the material fatigues, then it fails in a single cold snap. Understanding which parts of the roof fatigue at which rate helps you decide what a repair really needs to cover.
Flashing
Metal flashing expands in summer heat and contracts in winter cold. The movement is small, but it happens thousands of times, and the sealant or lap joint that held it to the shingles eventually lets go. Once water gets behind the flashing, it travels sideways along the decking and shows up somewhere far from the actual gap. That’s the classic reason a ceiling stain appears across the room from the leak. Flashing failures are the most common source of misdiagnosed leaks we run into.
Decking
Roof decking is usually plywood or oriented strand board. Both flex under snow load and both absorb moisture at the edges and around old nail holes. When the deck softens, it stops holding nails, the shingles above it loosen, and the water path widens. Decking degrades slowly and invisibly, which is why it’s the layer most often skipped in a fast inspection and most often ignored in a cheap repair.
Underlayment
Underlayment is the water-shedding layer beneath the shingles. Every freeze-thaw cycle bends it slightly with the deck. Over time it creases, then cracks at the crease. Once it tears, water that gets past a shingle reaches the deck directly, and the shingle above is blamed for a failure the underlayer caused. Underlayment health is the difference between a roof that tolerates a lifted shingle and one that leaks at it.
The takeaway is that a repair decision shouldn’t be based on how the shingles look alone. If the flashing, decking, and underlayment at the leak site are in poor shape, replacing three shingles changes your odds of staying dry until the next thaw, not through five winters.
Why Ice-and-Water Shield Placement Decides Whether a Repair Holds
This is where the difference between a one-winter repair and a five-winter repair gets decided, and it’s almost always invisible from the ground.
Ice-and-water shield is a self-adhering membrane installed under the shingles at the most vulnerable parts of the roof. It seals around nails and stays watertight through repeated freeze-thaw. On a Syracuse roof, the quality of the shield and, critically, its placement matter more than almost any other material choice. When a repair involves replacing sections of underlayment or reworking a valley or eave, how much ice shield goes down and how far it extends decides whether the repair survives meltwater backing up behind a snowpack.
A few realities about how placement goes wrong:
- Too little coverage at the eaves. The shield needs to extend up the slope far enough to sit behind the ice dam line, not just at the very edge. If it stops short, meltwater pooling behind the dam gets under it and through the deck.
- Skipped at the valleys. Valleys collect snow for longer than any other part of the roof. A repair that rebuilds a valley without shield underneath is counting on the valley material alone, and the valley material is exactly what’s failing.
- Not overlapped correctly. The shield has to lap in the direction water flows. A lapped-backward seam is an open door, and the leak shows up months later.
- Reused from the old roof. Old membrane that’s already been flexed and perforated once doesn’t reseal. If a repair reuses it, the repaired section has a soft spot baked into it.
When we open up a roof for a repair, the conversation about ice shield placement isn’t a sales pitch. It’s the actual engineering of the repair. If a contractor’s plan doesn’t mention it, ask. The answer tells you whether they understand Syracuse roofs or are applying a template from a milder climate.
When a “Small Repair” Is Really a Decking Warning
Some leaks are small and isolated. Some look small from the ground but are the first sign that the decking underneath has been failing for years. Here are the checks you can do yourself before you call anyone, in roughly the order you should do them.
- Look at the stain shape. A small, tight, dry-edged stain from one storm is likely surface damage. A stain with a soft edge that’s grown wider over months, or a cluster of stains, usually means an ongoing source above the deck.
- Press the deck from the attic. If you can safely get into the attic, put your hand or a screwdriver handle against the underside of the decking near the stain. Softness, flex, or a spongy feel means the wood has taken on water.
- Check for daylight. A pinprick of light from the attic means a hole in the assembly. Where light comes through, water does too.
- Check the ceiling near the stain for swelling or paint bubbling. Bubbling means water has been cycling behind the paint, not just through once. A persistent source is more likely than a single event.
- Look at the roofline for dips or sags. From the ground, a slope that dips or that shows a straight-line sag means the deck has lost some rigidity there. That’s a decking conversation, not a shingle one.
- Check the eave from the ground after a melt. Heavy icicles at the same spot every winter, water stains in the soffit, or persistent ice at one corner point to a defect in the insulation-ventilation path as well as the roof surface. Sometimes the fix is more about airflow than it is about shingles.
If you hit a soft deck or a sagging roofline, stop and get eyes on it. If a contractor calls a soft deck a “small repair” and proposes to seal it over, that’s a repair that’ll become a roof replacement sooner than you’d like. We’d rather tell you what we actually find. We’ll tell you if a repair will hold, and we’ll tell you when it won’t.
The Full Repair Lifecycle, Stage by Stage
Every proper repair follows the same five stages. The Syracuse-specific notes below are what make the difference at each step.
Stage 1: Inspection
The inspection establishes the true condition of all four layers, from the attic underside up. In Syracuse, a repair inspection has to explicitly check the eave zone and the valleys, because those are the perennial failure points under this climate. The inspection should also verify attic ventilation, since a roof that can’t vent its moisture load gets worse every winter. With up to 15 years of experience on our teams, a roofer will know which defects are cosmetic and which are structural before anyone quotes a price.
Stage 2: Diagnosis
Diagnosis is the step most cheap repairs skip. It means tracing the water path from the point of entry to the point of appearance, which are rarely the same place. A roofer who can’t explain the path hasn’t done the diagnosis. Ask for that explanation. If you don’t get one, you’re being sold a patch.
Stage 3: Material Selection
Material selection follows the diagnosis, not the reverse. Once you know the leak is at a valley or an eave, the repair scope determines what underlayment, membrane, flashing, and shingles are needed. Here’s where brand-agnostic advice actually matters. We install from seven manufacturers, including GAF, CertainTeed, Owens Corning, and IKO, and we choose the material for your budget and roof conditions rather than for which brand pays us best. If a repair only needs a limited quantity of a material, that decision affects availability and price. Multiple brand options mean a recommendation driven by the roof, not by a preferred supplier.
Stage 4: Repair
The repair itself should follow the scope set in the diagnosis. A proper repair on a Syracuse roof often includes restoring ice-and-water shield at the repair site, replacing compromised underlayment before the shingles go back, and reflashing any penetration the repair touches. If the decking under the repair is soft, that’s replaced before the shingle layer goes down. The repair doesn’t get better than the layers under it.
Stage 5: Post-Repair Verification
Verification means confirming the repair works, not just that it looks neat. That means a water test where appropriate, a second look at the attic side to confirm the diagnosis path is now dry, and a check that ventilation, drainage, and flashing at the repair site are all doing their jobs. A repair that only gets a visual walk-by hasn’t been verified.
Cheap Repair vs. Correct Repair: The Three-Winter Math
The cheapest repair usually isn’t the cheapest outcome. The failure modes are predictable enough that you can do the math before winter arrives.
Failure mode one: sealant over a failed flashing joint
Sealant fixes a flashing gap for one season, maybe two. In Syracuse it’s going through a full freeze-thaw cycle within the first winter, and if the joint is at the eave or the chimney, it’ll open again. The next repair has to undo the sealant, then properly reflash, so you pay for the first repair and the correct one.
Failure mode two: shingles patched over soft decking
New shingles nailed into soft deck won’t hold. Nail pull-through opens new gaps within a season or two, and the leak comes back at the same spot. The next repair has to remove the new shingles, replace the deck, and reinstall. That’s more expensive than the deck-replacement repair would have been at the start, not less.
Failure mode three: no ice shield restored at the repair
A repair at an eave or valley that doesn’t put back the shield starts every winter without the layer that was actually keeping the water out. It may look fine, and it may stay dry through a mild season, but the first heavy snowpack with meltwater behind it goes straight to the deck.
A slightly larger scope done correctly the first time usually costs less over three winters than a cheaper minimal repair done two or three times. We don’t lead with replacement, but we don’t propose a minimal repair if we know it’ll be back next February. Repair when it makes sense. Replace when it’s necessary.
Common Mistakes to Avoid
- Starting the inspection at the shingles. The shingle condition is the least informative data point on a Syracuse roof. Start in the attic and at the eaves, where the climate does its work, and you’ll find the real failure faster.
- Assuming the stain marks the leak. Water travels along the decking. The stain can be six feet from the actual opening. If your roofer is working directly above the stain, ask how they plan to prove that’s the source.
- Accepting a repair without a deck check. In this climate, “small leak, small repair” is only true if the decking under it is intact. Any repair quote should state whether the deck was checked and how. If it doesn’t mention the deck, it hasn’t been checked.
- Treating ice shield as an optional line item. If the repair site is at an eave, valley, or penetration, it needs shield restored. Leaving it out is choosing a one-winter repair and paying for a two-winter fix.
- Reusing the old underlayment at the repair. Reused underlayment has been flexed thousands of times and perforated. It’s the single fastest way to guarantee a repeat leak.
- Ignoring attic ventilation. A roof that can’t vent its moisture load stays wet longer under snow and gets worse every winter. A repair that doesn’t touch ventilation can look fine and still cycle water back into the deck over a season.
- Skipping the post-repair check. If the repair isn’t verified with a water test and an attic-side check after the work, you won’t know it held until the next storm. Always get confirmation before the invoice.
When to Call a Professional
You need trained eyes on the roof if any of the following are true. Water is showing up at the ceiling, at the top of a wall, or along a chimney, and the stain has reappeared after the last repair. You can feel soft decking from the attic. A slope looks like it’s sagging or a valley is holding water. Ice is forming at the same spot every winter. You’re preparing to sell and need a real condition assessment, or your home inspector flagged the roof and you want an independent read before deciding anything. Those scenarios all involve structural judgment, ladder work in weather, and the kind of tracing that’s hard to do from the ground.
Syracuse winters don’t give second chances on a bad repair, so it’s worth getting this looked at before the next freeze. Stratford Roof Repair offers free estimates in Syracuse. Call (844) 834-3413. We answer 24/7. Fast dispatch from 7am to 7pm, Sunday through Friday.
See the difference
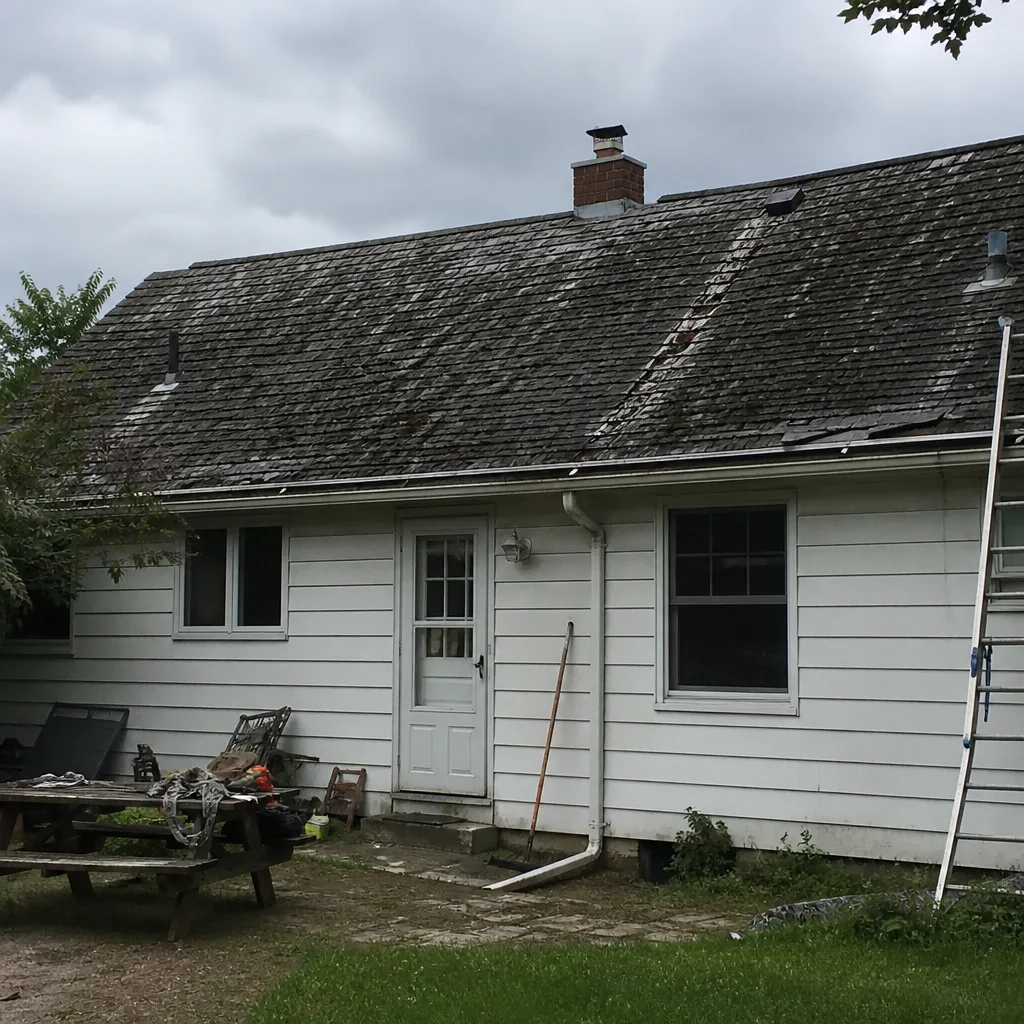 Before
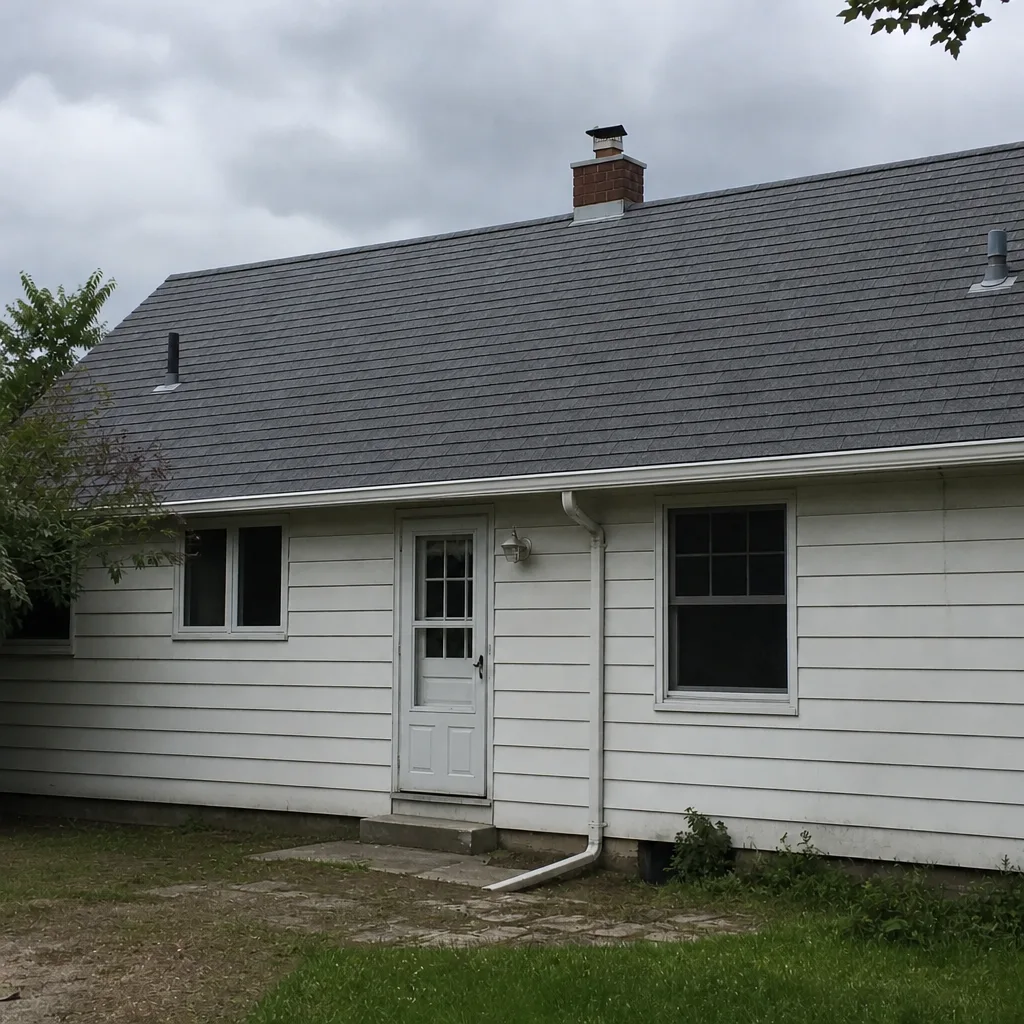 After
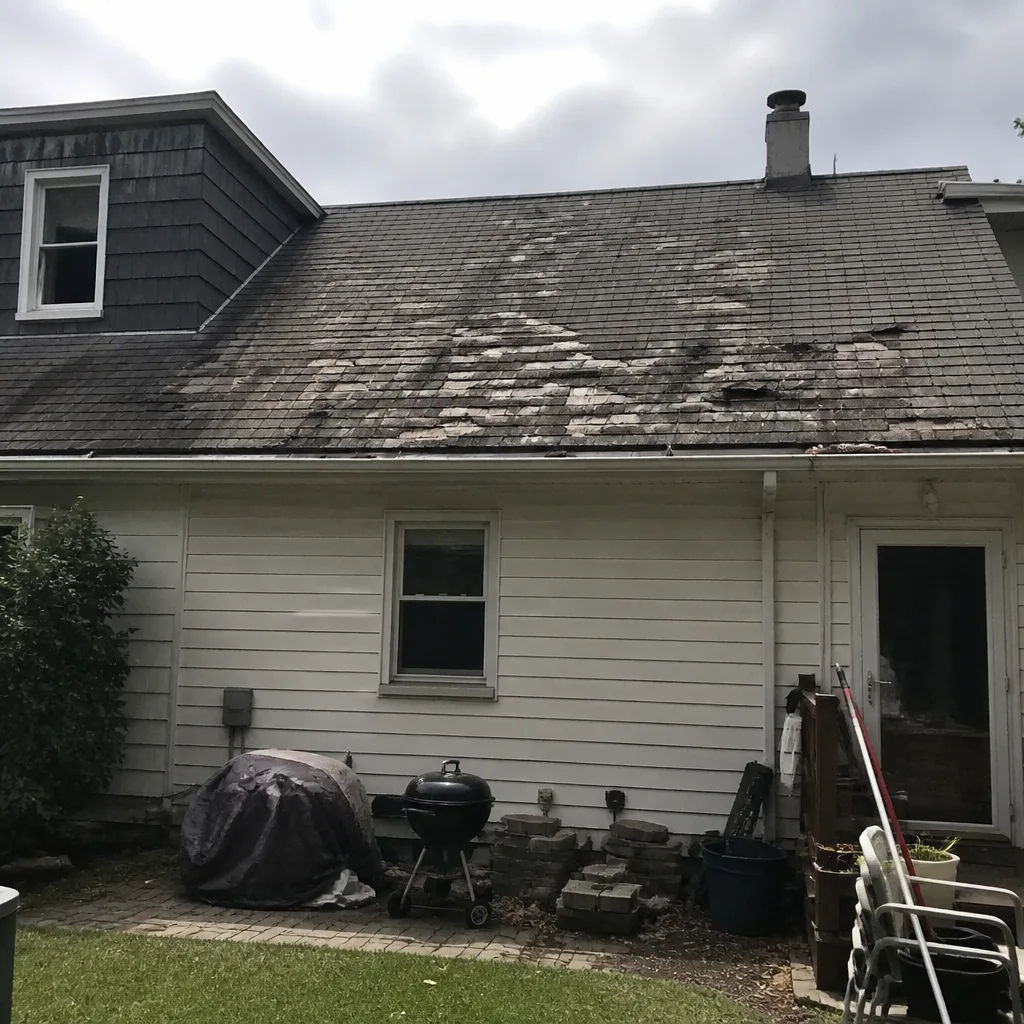 Before
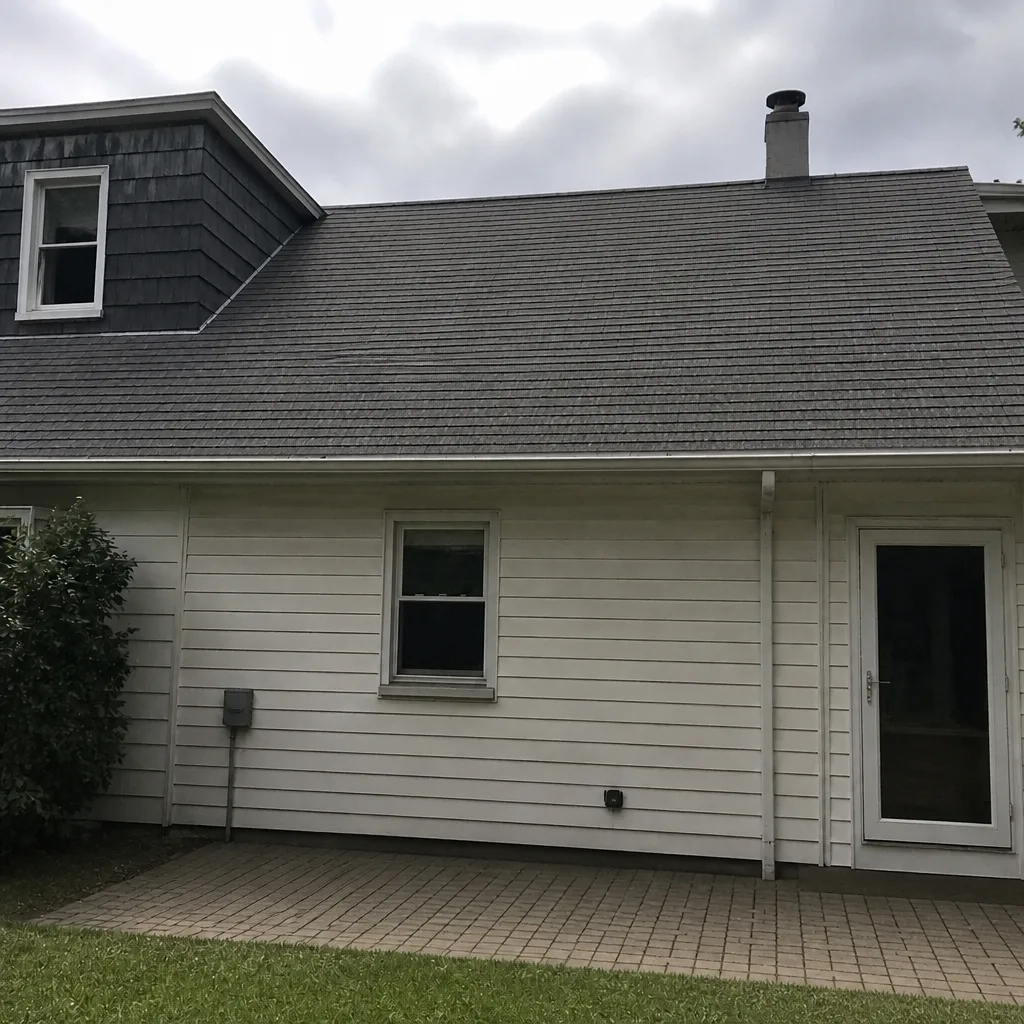 After
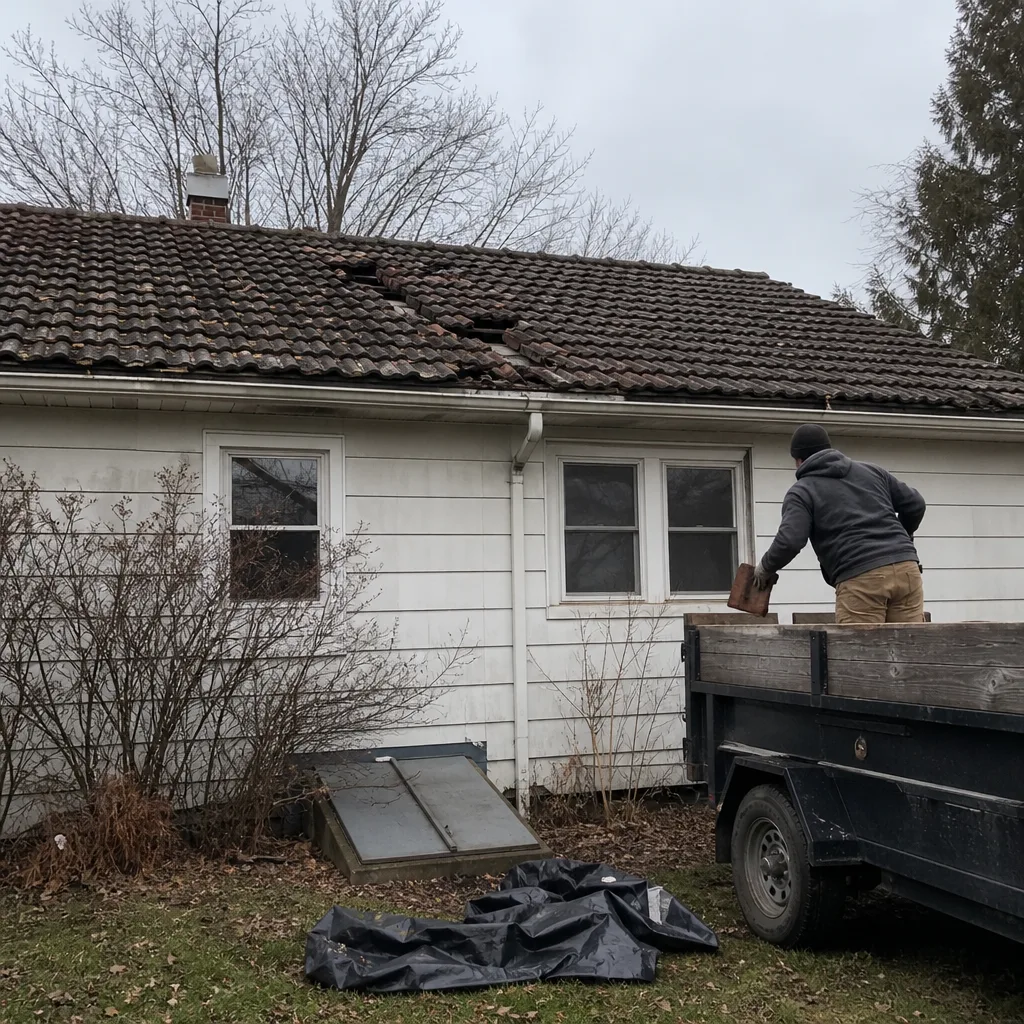 Before
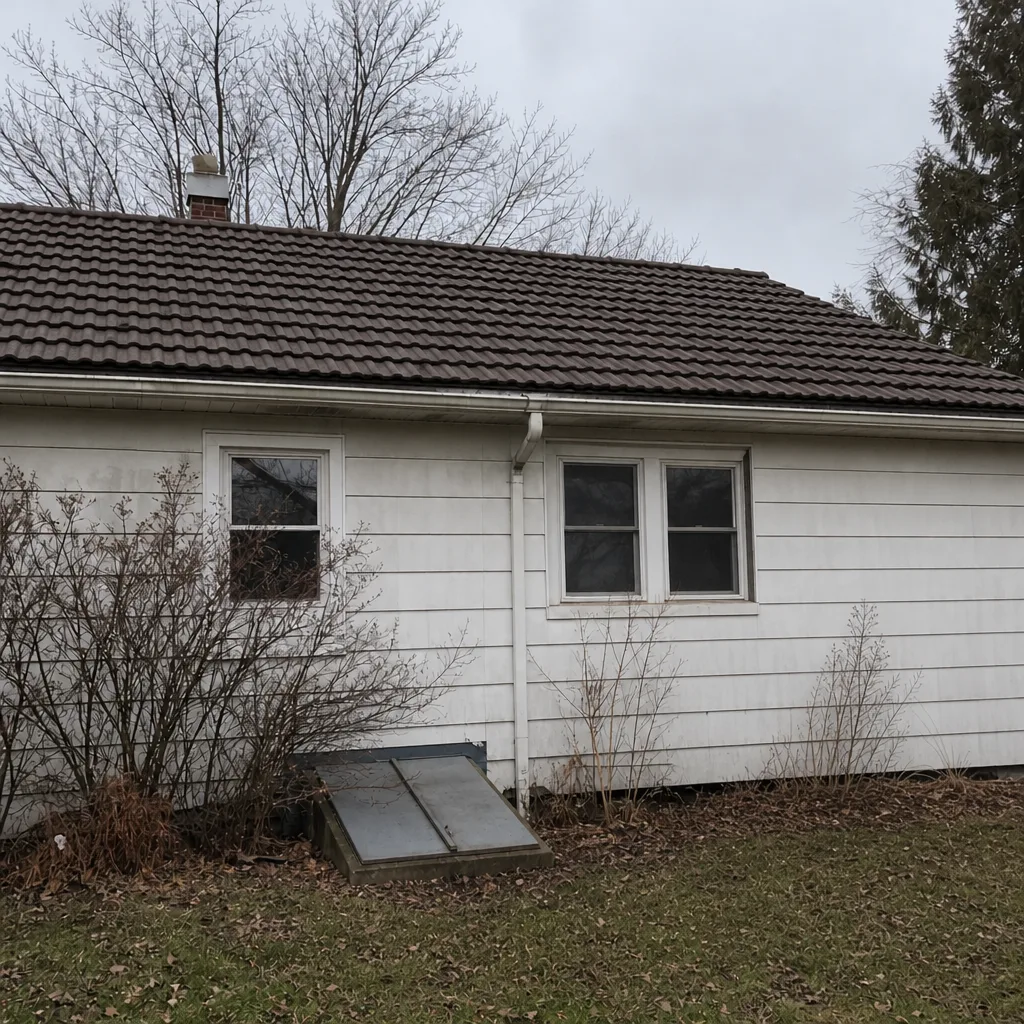 After
Frequently Asked Questions
Roof repair in Syracuse is priced per job by a written estimate, and the estimate depends on the scope the inspection finds: how many layers are affected, whether the decking is sound, and whether the repair site needs membrane or flashing restored. We don’t publish a flat rate because no two repairs are actually the same under this climate. Call (844) 834-3413 for an exact quote. Estimates are free.
No, a small leak shouldn’t wait through a Syracuse winter. Water that gets past the shingles in fall will sit against the underlayment and deck through the entire freeze-thaw season, and the deck stays wet the whole time. What looks like a small surface issue in October can turn into a decking repair by March. Call us and let the inspection tell you whether it’s small or not.
A repair is the right answer when the failure is localized to a flashing joint, a valley section, or a cluster of shingles and the deck and underlayment around it are sound. Replacement makes sense when the deck or underlayment is failing across large areas of the roof, so the next leak is a matter of time and cold weather. We recommend replacement only when repair can’t hold, and we’ll tell you which side of that line your roof is on. Call (844) 834-3413 for a free estimate.
The freeze-thaw cycle and the snow load are the two big factors here. Syracuse winters subject the roof to repeated melting and refreezing, which degrades flashing, underlayment, and decking at different rates, and the snow load flexes the deck in a way milder climates don’t. The result is that repairs here have to account for what’s happening under the shingles, not just at the surface. Our technicians have up to 15 years of experience with these conditions.
It’s often the deciding factor in whether a repair holds through five winters or fails after one. Ice shield is the self-adhering membrane under the shingles that stays watertight through freeze-thaw and behind ice dams. Any repair at an eave, valley, or penetration should restore it. If your repair scope doesn’t mention the shield, ask why. Call (844) 834-3413 for a free estimate.
For a surface defect you can see clearly, and where you’re comfortable on a ladder, a patch is reasonable. But on a Syracuse roof, patching the visible spot often misses the real source, which is usually at a flashing joint, a valley, or under the shingles where the deck has flexed. If you’ve patched the same spot more than once and it’s still leaking, the next step is a proper inspection. Call (844) 834-3413 to schedule one.
The Bottom Line
Syracuse roofs age as a system, not as a collection of independent leaks. The snow load and freeze-thaw cycling work over the decking, the underlayment, and the flashing at different rates, and the repair that holds is the one that follows that sequence. Start at the attic and eaves, trace the water path rather than the stain, check the decking before you touch the shingles, and insist that ice-and-water shield gets restored at any repair site at an eave, valley, or penetration. A slightly larger scope done once is almost always cheaper than three minimal repairs. Inspection first, no pressure, no guesswork.
Schedule Your Syracuse Roof Inspection
If your roof has a leak, a storm-damaged section, or an inspection report you’re not sure how to read, the next step is a proper look at the roof as a system. We handle inspection, repair, and replacement under one contractor, and we’ll tell you plainly whether a repair will hold. Call (844) 834-3413 for a free estimate. We answer 24/7. Fast dispatch from 7am to 7pm, Sunday through Friday.
Written by the team at Stratford Roof Repair.