
Last updated November 15, 2026
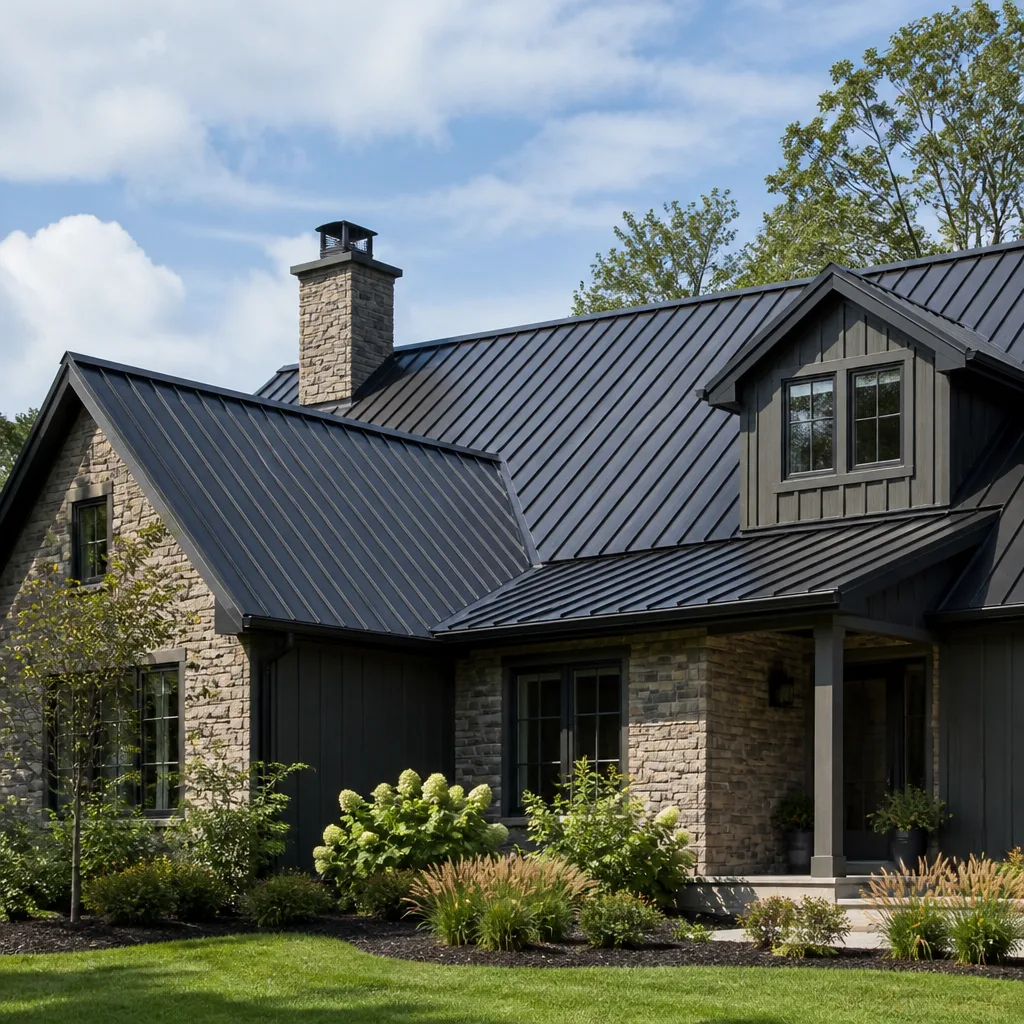 Metal roofing
 Architectural shingles
 Tile roofing
 GAF
 Owens Corning
 Flat & low-slope
Free roof inspection with deck photos before we talk money - GAF and Owens Corning certified installation
Roofing Emergency Preparedness Guide for Syracuse Homes
Most Syracuse homeowners prepare for roof trouble the way most people prepare for a fire: they wait until there’s smoke. That’s backwards for one specific reason. Roofing emergencies here tend to land in the exact weeks when nobody can help you. The blizzard hits, and then the week after the blizzard hits the contractors with a backlog that pushes response times out for days. The homeowners who come through those weeks with a few missing shingles are the ones who did their prep in September, when the weather was fine and no one was in a hurry. This guide walks through what to stage, what to check, and who to line up before Syracuse winter makes those decisions for you.
Quick Answer
Roofing emergency preparedness in Syracuse comes down to three things done before the first hard freeze: a tarp and sandbags sized to your roof sections, a documented walkthrough of known weak points, and a roofing contact you’ve already spoken to. The kit and the plan are what separate a minor repair from a water damage claim when a storm arrives and every contractor phone is busy. You won’t be able to prevent the storm, but you can absolutely control how fast and how safely your home responds to it.
Styles & brands we work with
- Architectural shingles
- Metal roofing
- Tile roofing
- GAF
- Owens Corning
- Flat & low-slope
Table of Contents
- Why Emergency Prep in Syracuse Starts in September
- What to Stage Before Emergency Season
- How to Protect a Damaged Roof Without Getting on It
- What Your Homeowner’s Policy Expects You to Do
- How to Choose an Emergency Roofing Contact Now
- The Three Damage Scenarios and How to Respond
- Reading Your Own Roof: What to Watch Before It Fails
- The First 48 Hours After the Storm
Why Emergency Prep in Syracuse Starts in September
In Syracuse, roofing emergencies rarely happen in isolation. They happen when a snow load, an ice dam, and a wind event all stress the same section of roof, and they happen in the two to eight weeks when crews are hardest to reach. The roof is more stressed in February than it is in October. But the ability to get someone out, or to respond to damage yourself, is far higher in October. That mismatch is the whole point of this guide.
Three forces drive the timing:
- Snow load. Between December and March, roofs in Syracuse and the surrounding lake effect belt carry accumulated weight for weeks at a time. Small failures that start as a single lifted shingle or a small gap can propagate under the load.
- Freeze-thaw cycles. Syracuse’s winters swing above and below the freezing mark. Every thaw pushes meltwater into tiny gaps; every refreeze expands it. That process finds weak points in flashing, valleys, and around penetrations before the spring rains do.
- Crew availability. Roofing crews in and around Syracuse face the same snow, the same roads, and the same backlog during a bad storm week. When every roof on the block has a problem, timelines stretch. Prepared homes are the ones that don’t get stuck in the queue for a fix they could have already handled.
The practical window for prep is September and early October, before the first freeze hardens everything and before the cold makes anything on the roof harder to do. That’s when you check the flashing, stage the tarp, and have the conversation with a roofing contact. By the time a nor’easter rolls in off the Atlantic, the prep should already be done.
What “Emergency” Actually Means on a Roof
A roofing emergency isn’t only a missing section of roof. It’s any condition where water can reach the interior or where structural stability is compromised. In practice, that means:
- Wind uplift lifting ridges, valleys, or edge shingles fast enough to expose underlayment
- Ice damming at eaves forcing meltwater back under the shingles
- Impacts from falling limbs, chimney masonry, or other debris
- Chimney flashing failures feeding water into the roof deck
- Skylight or vent flashing opening up after a hard freeze
Each of those does damage at a different pace. Wind uplift can open a roof in minutes; ice damming can sit quietly for a week before the ceiling stains appear. That pace difference is why the temporary response is different for each scenario, and we’ll get to that in a later section.
What to Stage Before Emergency Season
The prep kit for a Syracuse home is small enough to fit in a garage corner and cheap enough that it costs less than a single ceiling drywall repair. The trick is staging it early and knowing where it is in the dark. Here’s what we tell homeowners to put together before Halloween:
Tarp and Fastening
The tarp is the heart of the kit. Sizing is where most homeowners under-buy. A common mistake is grabbing the biggest tarp at the hardware store without measuring the roof. A better approach:
- Measure your exposed roof sections. Roughly measure the flat run of each roof plane that could be exposed: front slope, back slope, side gables. Note the largest plane.
- Buy for the largest plane, plus 3 to 4 feet of overhang on every side. That overhang is what gets weighted down. A tarp that barely covers the opening isn’t doing its job.
- Choose a heavy-duty woven poly tarp, not a lightweight painter’s tarp. The lightweight versions tear on the first gust and get shredded on asphalt shingles.
- Pair it with sandbags or weighted tubes. Nails or screws driven through the tarp into the shingles will leak; you’re there to cover the leak, not create one. Weighed sandbags or heavy rubber tubes sit on the tarp edges and along the ridge to hold it down without penetration.
Sandbags and Weights
Roughly 12 to 20 pounds per anchor point is enough for a moderate wind; weight it more heavily if the storm window is long. Home improvement stores sell empty sandbags and sand in bulk. Alternatives that work in a pinch: bags of rock salt (also useful for the driveway), heavy rubber exercise tubes, or sealed buckets of water (empty them before a deep freeze).
Interior Protection
Every known leak point gets a bucket and a plan before the storm arrives. Tape a note to the bucket with the date and time you placed it, because that note becomes evidence for your insurance claim. Plastic sheeting stretched over furniture in a vulnerable room buys valuable hours. And a battery-powered headlamp, spare batteries, and a simple moisture meter (under $30 at most hardware stores) let you find where water is showing up before the stain reaches the ceiling.
Documentation Folder
Before emergency season, put together a folder – physical or digital – that includes your policy number, your insurer’s claims phone line, your roofing contact, and pre-season photos of the roof and attic. Those pre-storm photos are the single highest-value document in the folder. Without them, every claim becomes a debate about what was already damaged.
How to Protect a Damaged Roof Without Getting on It
Here’s the part where we’re going to be direct. If the roof is wet, covered in snow, sloped more than 4:12, or above the first story, you should not be up there placing a tarp. A fall from a roof is the kind of injury that changes a household’s year, and it’s the single most preventable risk in this entire guide. The right move when the damage is on a wet or snow-covered roof is to stay on the ground, protect what’s below, and get a trained professional to handle the roof surface.
Ground-Level Response, In Order
- Get the water path moving away from the house. If a ceiling is bulging with trapped water, place a bucket below and carefully press a small hole in the bulge with a screwdriver to relieve the water into the bucket. That prevents the ceiling from collapsing. Do not stand under the bulge while you do it – stand to the side.
- Move valuables out of the affected zone. Furniture, electronics, and documents first. Then plastic sheeting over anything too large to move.
- Locate the leak entry point from inside the attic, not the roof. Go up during daylight or with a strong headlamp and look for daylight, water stains, or wet deck boards. That tells you which roof plane is involved and helps a roofer prioritize the repair once weather allows.
- Photograph and document before you touch anything. Wide shots of the damage, close-ups of the water stains, a photo of the bucket with the date and time visible. Timestamped photos matter for claims.
- Call your roofing contact and your insurer. Call the roofer first if you have one; call the insurer within a day to open the claim.
When a Tarp Is Safe to Place
A do-it-yourself tarp placement is safe in a narrow set of conditions: a single-story roof, a shallow pitch (under 4:12), dry weather, no snow or ice on the surface, and a clear, stable ladder setup. If any of those aren’t true, stop. It’s not a judgment call about your abilities. It’s that the conditions are what cause falls, not the person on the ladder. When conditions don’t allow a safe temporary cover, the right response is to keep water moving off the interior and let a roofing professional cover the roof once the surface is safe to walk. If you’re not sure about the diagnosis behind a leak, a roof repair assessment is the fastest way to know whether the damage is small or something that needs immediate action.
What a “Correct” Temporary Fix Looks Like
Done well, a temporary tarp does three things: it fully covers the damaged section plus 3 to 4 feet in every direction, it’s weighted rather than nailed, and it’s angled so water sheds in one direction rather than pooling. A tarp that holds water in a sag is worse than no tarp at all. A roofer’s temporary cover will usually be paired with a documented inspection so the actual repair plan can follow once weather breaks.
What Your Homeowner’s Policy Expects You to Do
Most homeowner’s policies require you to take reasonable steps to prevent further damage after a covered loss. In plain terms, that means if your roof blows open in a Syracuse storm and you sit on the leak until morning without calling or protecting anything, the insurer may push back on how much of the resulting damage is covered. Your job isn’t to fix the roof. Your job is to document what happened, protect what’s below, and call for professional help. Action matters more than perfection.
The Documentation to Collect Within 24 Hours
- Photos of the damage. Wide shots, close-ups, and a shot that establishes scale. Include interior water stains, drips, and any buckling or sagging.
- Your pre-storm photos. If you have them, these prove the roof was in good shape before the event. This guide’s earlier section on the documentation folder exists for exactly this reason.
- Dated notes on the interior response. When you placed buckets, when you noticed the leak, when you called the roofer. Written and dated notes are far more useful than a memory.
- The damaged roofing materials themselves. Don’t throw away torn shingles, broken flashing, or pieces of a downed vent. Your adjuster may want them.
- Receipts for temporary materials. The tarp, sandbags, plywood, or anything you bought to protect the home may be reimbursable under a covered claim. Keep receipts.
- The written estimate from your roofer. Your insurer needs a professional’s documentation of the damage to process the claim. A written, line-item estimate is what carries the process forward.
Every policy is different, so check your own policy documents for the specific language on post-loss obligations, and ask your insurer for their claims process before a storm hits. The number you don’t want to be finding for the first time is the claims line, the night the ceiling is dripping into the hallway.
We can work with your insurer when storm damage is part of a claim. What we won’t do is tell you what your policy covers. That’s the adjuster’s call, and it’s worth keeping the line between roofer and adjuster clean. If you want the practical version of what a documented inspection looks like for a claim, a Stratford Roof Repair assessment starts with a written report you can hand directly to the adjuster.
How to Choose an Emergency Roofing Contact Now
The worst time to choose a roofer is right after the storm, when every contractor in Syracuse has a backlog, every phone is ringing, and the businesses that answer fast may not be the ones you’d choose with a clear head. The second-worst time is mid-emergency at 10pm. The best time is now, in fair weather, with a few phone calls and a short conversation that costs you nothing.
What to Ask Now
- Do you do full-lifecycle roofing, or only repairs? You want someone who can assess, repair if possible, and replace only when necessary. A shop that only sells replacements will steer every conversation toward a replacement. A shop that only repairs will eventually send a repair at a problem that needed a full roof. The right answer is: they handle inspection, repair, and replacement – and they’ll tell you which one your roof actually needs.
- What brands do you install? A single-brand shop is selling that brand. A shop that installs across several brands can recommend based on your budget and your roof, not on which manufacturer backs their margin. We install GAF, CertainTeed, Owens Corning, IKO, Atlas, Tamko, and Boral, and recommend from that roster based on the roof.
- What does an inspection cost? The inspection should be a standalone service. You should be able to get a professional assessment without committing to a repair or a replacement up front.
- What’s your typical response after a storm? This matters because a roofer who has an emergency process has a plan for what’s tarped first, what’s scheduled in what order, and how they communicate when the queue is long. A roofer who says “we just handle it” does not have a plan.
- Can I get a written, line-item estimate? Every conversation about cost should end with paper. Line items prevent arguments and support insurance claims.
- Do you pull permits when they’re required? For roof repairs and replacement in Syracuse, permits are typically required above certain thresholds. A roofer who skips them shifts the risk to you, and it can complicate insurance and resale later.
Red Flags at the Moment of the Emergency
At 10pm after a tree limb has hit your roof, your judgment is compromised by urgency. That’s the moment unscrupulous contractors count on. Guardrails that help:
- Anyone who knocks on your door unsolicited and offers to “get up there right now” for cash.
- Anyone who can’t produce a written estimate, a physical address, or proof of insurance.
- Anyone who pushes you to sign a contract that same night, especially one that assigns your insurance claim to them.
- Anyone whose price changes between the phone call and the invoice. If the number moves, that’s a contract problem, not a weather problem.
The path to a good emergency experience is a call made in October. Call the roofer you’ve shortlisted, ask the six questions above, and write down their response. If they can’t answer them in October, they won’t answer them at 10pm in January either.
The Three Damage Scenarios and How to Respond
Not all roof damage moves at the same speed, and treating every leak the same way is one of the common ways homeowners make things worse. Here are the three scenarios that drive the majority of Syracuse roofing emergency calls, and the correct temporary response for each.
Scenario 1: Wind Uplift
Wind uplift happens when wind gets under the shingle edges and lifts them like a sail, exposing the underlayment and, in bad cases, the deck. It’s fast. A single gust can take the ridge cap and several rows of shingles off. The exposed underlayment is water-resistant but not waterproof, so the clock runs until the next rain or melt.
Correct temporary response: tarp the exposed section if it’s safe to do so, weighted on all four sides with overhang. If the roof is high, steep, or wet, stay off and get a professional out. Inside the attic, look for daylight, spread plastic under the exposed region, and photograph everything before taping sheets in place. Wind uplift is the classic case for a written emergency response from a roofing contact you already trust.
Scenario 2: Ice Dam Overflow
Ice dams form when attic heat melts snow on the upper roof, the meltwater runs to the cold eaves, and refreezes into a dam. Water backs up under the shingles and into the structure. It’s slow and quiet, and often invisible on the interior until a ceiling stain appears days later. Syracuse’s freeze-thaw cycles make the region especially prone to this pattern during any winter with heavy snow followed by a thaw.
Correct temporary response: never chip ice off the roof with an axe or hammer. You’ll damage shingles and void any hope of warranty coverage on those sections. Instead, relieve the interior: catch the drips, open interior access to warmer air near the leak, and get a roofer scheduled to assess the flashing, the underlayment, and the attic insulation. The permanent fix for ice damming is often an attic ventilation and insulation question, not a shingle question. That’s part of what an inspection is for. You can read more about what inspections cover on the roof replacement path if it turns out the roof is nearing end of life, or on the repair side if the damage is localized.
Scenario 3: Impact Penetration
Impact damage is a hole: a falling limb, a chimney brick, a piece of masonry, or anything else that punches through shingles and deck. It’s the fastest of the three scenarios. An open hole with water entering is a same-day problem.
Correct temporary response: if the hole is reachable and safe, tarp with weighted fastening, same method as wind uplift. If not, interior containment goes up immediately: plastic sheeting, buckets, and moving valuables. Photograph the damage from the ground with a zoom lens if you can’t safely inspect it up close. Then call. Do not attempt to push the limb, brick, or debris out of the hole; you may dislodge more roofing or, worse, cause it to fall through a ceiling. Impact damage is also where an emergency tarp most directly prevents a five-figure claim, because the difference is what gets into the attic during the hours the hole is open.
Every Scenario, Same First Step
Whatever the damage, the first step is the same: protect what’s below, document what you see, and get a professional assessment scheduled. The tarp comes second. In a Syracuse storm, safety comes before speed.
Reading Your Own Roof: What to Watch Before It Fails
There’s an old roofer’s habit that any homeowner can borrow: walk the perimeter of the house once a month and look up. Not to climb, just to look. The point isn’t to diagnose anything complicated. It’s to know what your roof looks like when it’s fine, so you recognize when it isn’t.
Simple Ground-Level Checks
- Shingle edges. Look for curled, lifted, or missing shingles along the eaves and the ridge. Granule loss that shows up as piles of dark grit in gutters and at downspouts hints at end-of-life shingles.
- Ridge line and valleys. The ridge and the valleys are where damage tends to start. If they’re straight and tight, the roof is doing well. If either is sagging or opening, that’s a call.
- Flashing and penetrations. Chimneys, skylights, and vent pipes all have flashing. Any soft metal, gaps, or rust-colored streaks on the siding below is a hint that something needs attention.
- Gutters and downspouts. If water is skipping the gutter and running down the fascia, the shingle course above the gutter is likely failing or the flashing is compromised.
- Ceiling and attic. Any brown stain on an interior ceiling, any wet spot in the attic sheathing, any sign of frost on the roof deck in winter. These are the slow leaks, and they’re the ones that do the most damage.
The Once-a-Season Walkthrough
- Walk the perimeter, note any changes since last month’s walk. Photograph anything new.
- Go into the attic and look for stains on the underside of the deck, anything wet, and any signs of pest intrusion.
- Check the flashing around the chimney, skylights, and vents from the ground with binoculars.
- If you’ve never had a professional inspection, schedule one. An inspection is a standalone service; it doesn’t commit you to a repair or a replacement.
If you’ve already got a Syracuse address and a roof that’s been through a couple of winters without a professional inspection, that’s the best use of the prep season. Our technicians have up to 15 years of experience reading exactly this kind of pattern, and they’ll tell you whether the roof is in good shape, in repair range, or closer to replacement than you’d like.
The First 48 Hours After the Storm
Once the storm passes, the response shifts from containment to process. What you do in the first two days is what preserves the claim, protects the interior, and gets the repair scheduled in the right order. A short, clear sequence helps.
- Walk the perimeter safely. Ground-level only. Do not climb. Photograph any visible damage.
- Pull the documented photos and notes. Add new photos, compare them with pre-storm photos, and note anything that looks new.
- Empty the interior catch. Buckets, plastic sheeting, and any temporary fixes stay in place until the roofer says the roof is weather-safe again. Don’t take the bucket away too early; the leak doesn’t know the storm is over.
- Call your insurer to open the claim if the damage is more than cosmetic. Bring the written estimate from your roofer to the claim.
- Schedule the inspection. The inspection tells you whether the roof is repairable or whether it’s time for the full-lifecycle conversation. An honest inspector will say both things in writing.
- Hold the receipts. Temporary materials, tarps, sandbags, plywood, anything purchased in response to the storm.
If the damage turns out to be localized, the answer is a repair. If the inspection reveals a broader pattern – shingles at end of life, decking softening across multiple sections, flashing failing in multiple places – then a replacement conversation is honest. That’s the lifecycle we work through in every Stratford Roof Repair assessment: inspection first, then repair if repair holds, replacement only when it doesn’t. Seven brands of shingles (including Boral and GAF) mean material choice comes from your budget and your roof, not from a single-brand shop pushing what it has. If the decision comes down to replacement, the material choice is genuinely yours.
Common Mistakes to Avoid
- Buying a tarp that’s too small. A tarp that covers the hole by inches will be gone in the first gust. Buy for the largest roof plane plus 3 to 4 feet on every side, and buy two tarps so you have a spare if the first tears.
- Nailing or screwing a tarp through the shingles. Every fastener is a new hole in the roof. Weight the tarp with sandbags or heavy tubes instead. The point is to cover the damage, not add to it.
- Chipping ice off the roof with a hammer or axe. This is the single fastest way to turn a manageable ice dam into a shingle replacement. The right response for ice damming is interior containment and a roofer’s assessment, not demolition.
- Waiting until the ceiling stains before calling anyone. In Syracuse’s freeze-thaw cycles, a slow leak can run for days before an interior stain appears. If you’re in an area with heavy snow and a thaw, get an inspection regardless of what the ceiling looks like.
- Skipping the documentation folder. Insurers want proof of what the roof looked like before the storm. Without pre-season photos, the process becomes a debate about what was already damaged. Build the folder in September, not after the claim.
- Hiring the first roofer who answers the phone after the storm. The contractors most available during a Syracuse-wide event are often the ones who haven’t been busy – and that’s not always for a good reason. The right contact was lined up in fair weather.
- Letting a repair shop own the whole decision. A shop that only repairs will sometimes patch a roof that’s past the point of sound repair. A shop that only replaces will sometimes quote a full roof on a repairable one. The right answer comes from a contractor comfortable with inspection, repair, and replacement together.
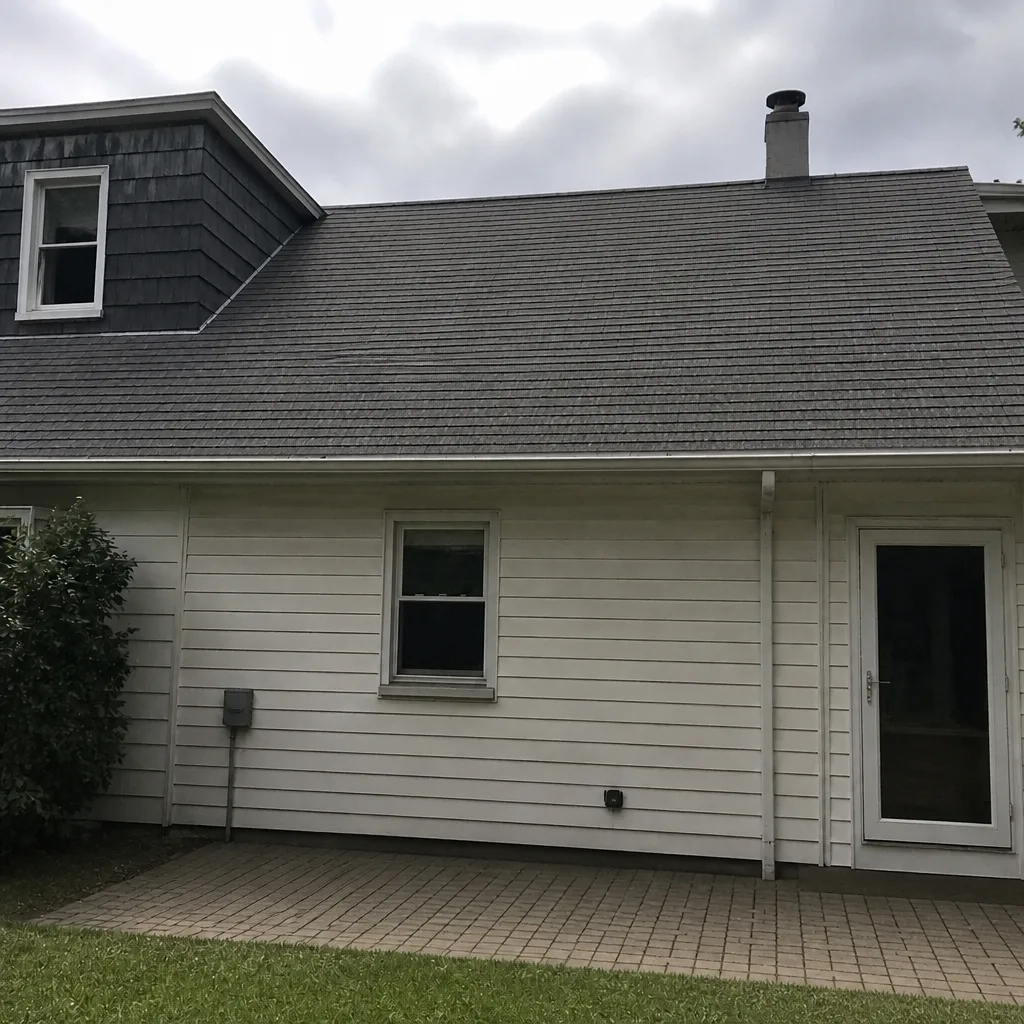
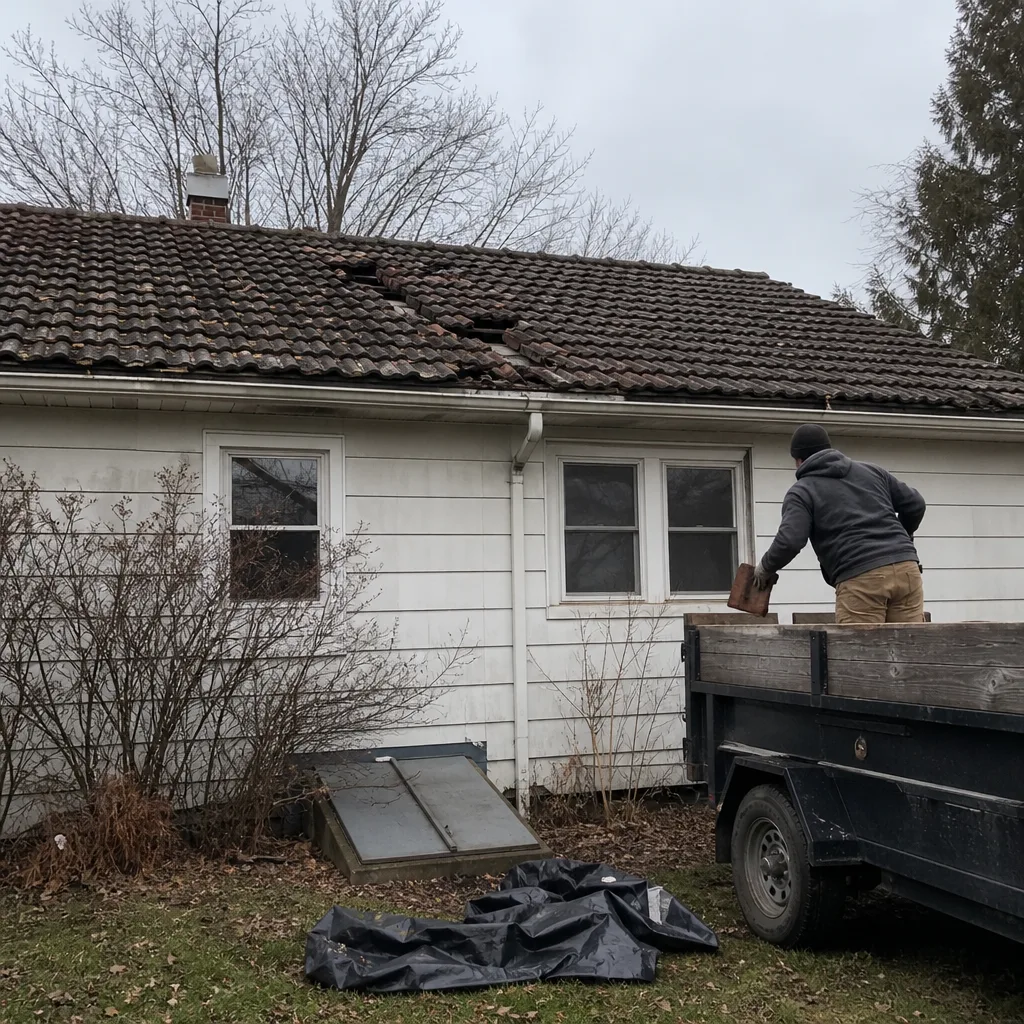
See the difference
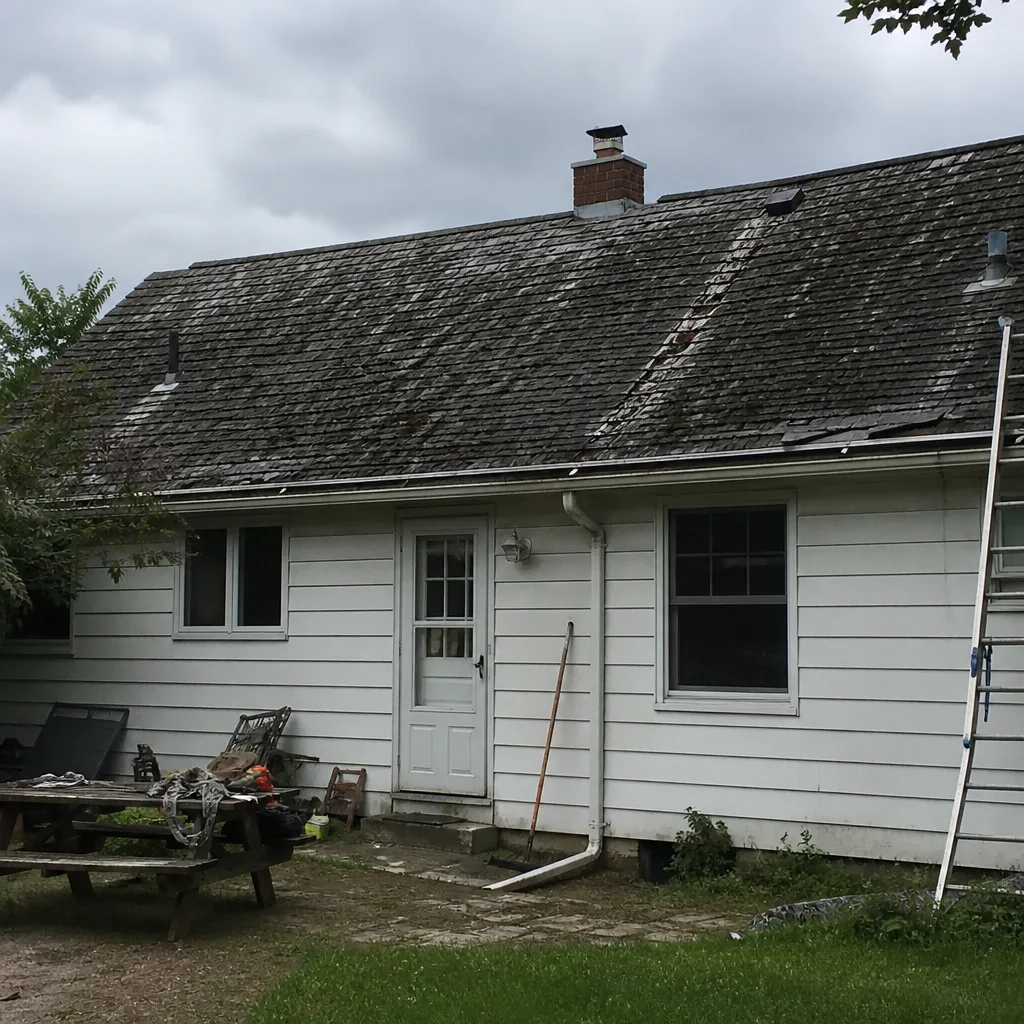 Before
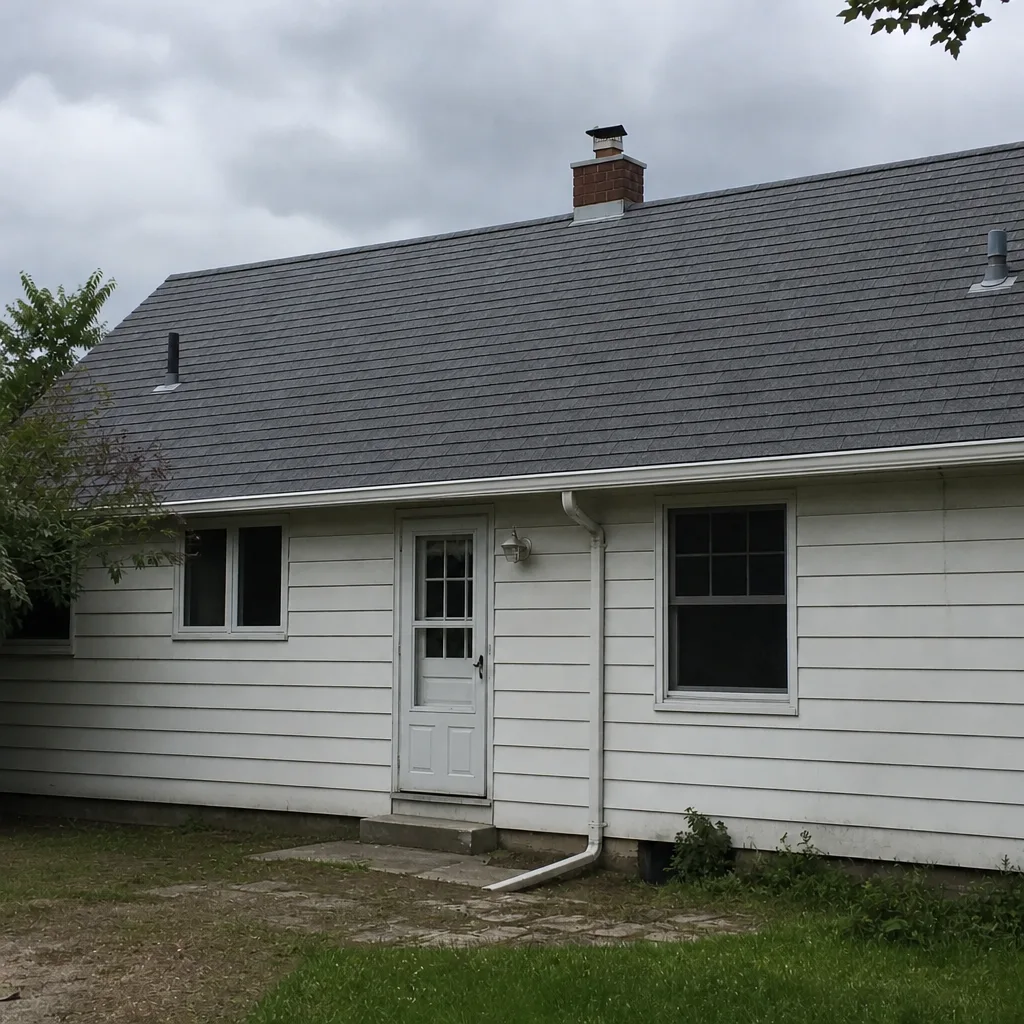 After
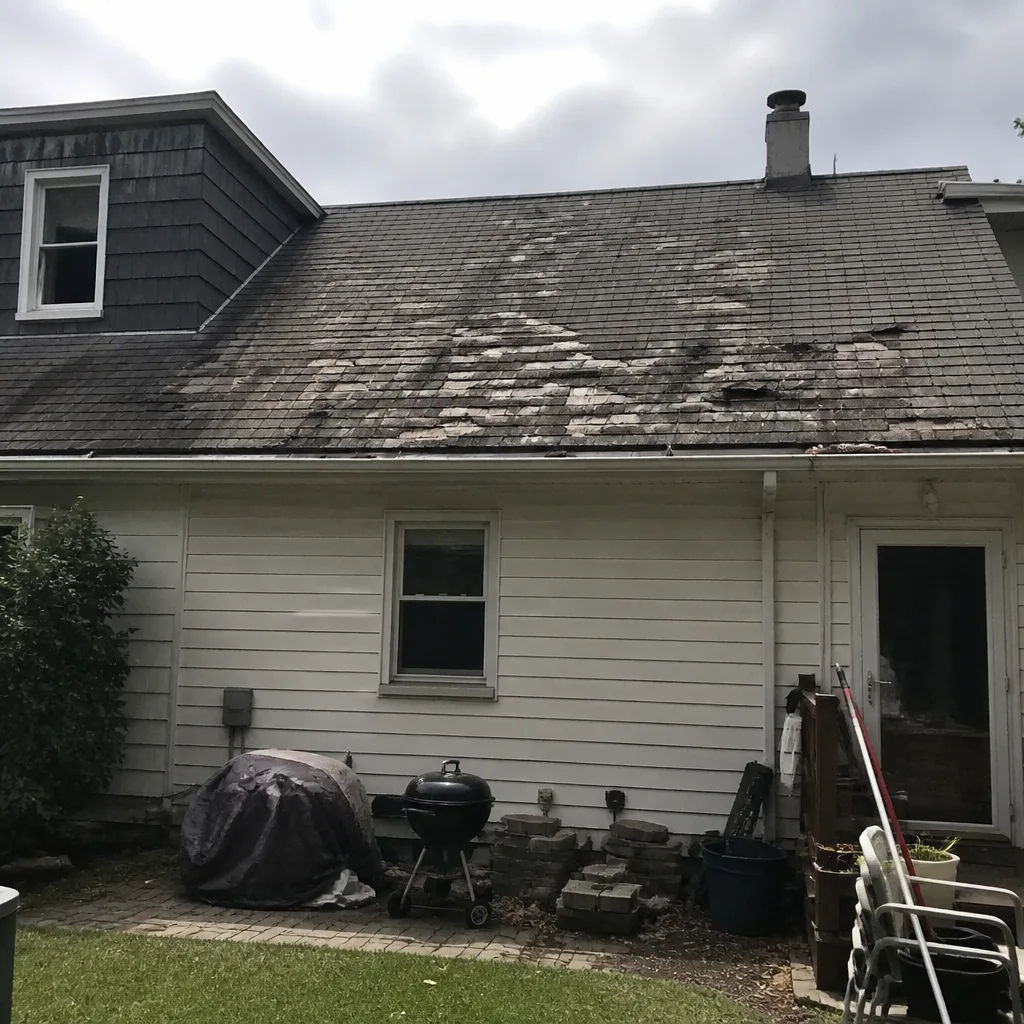 Before
 After
 Before
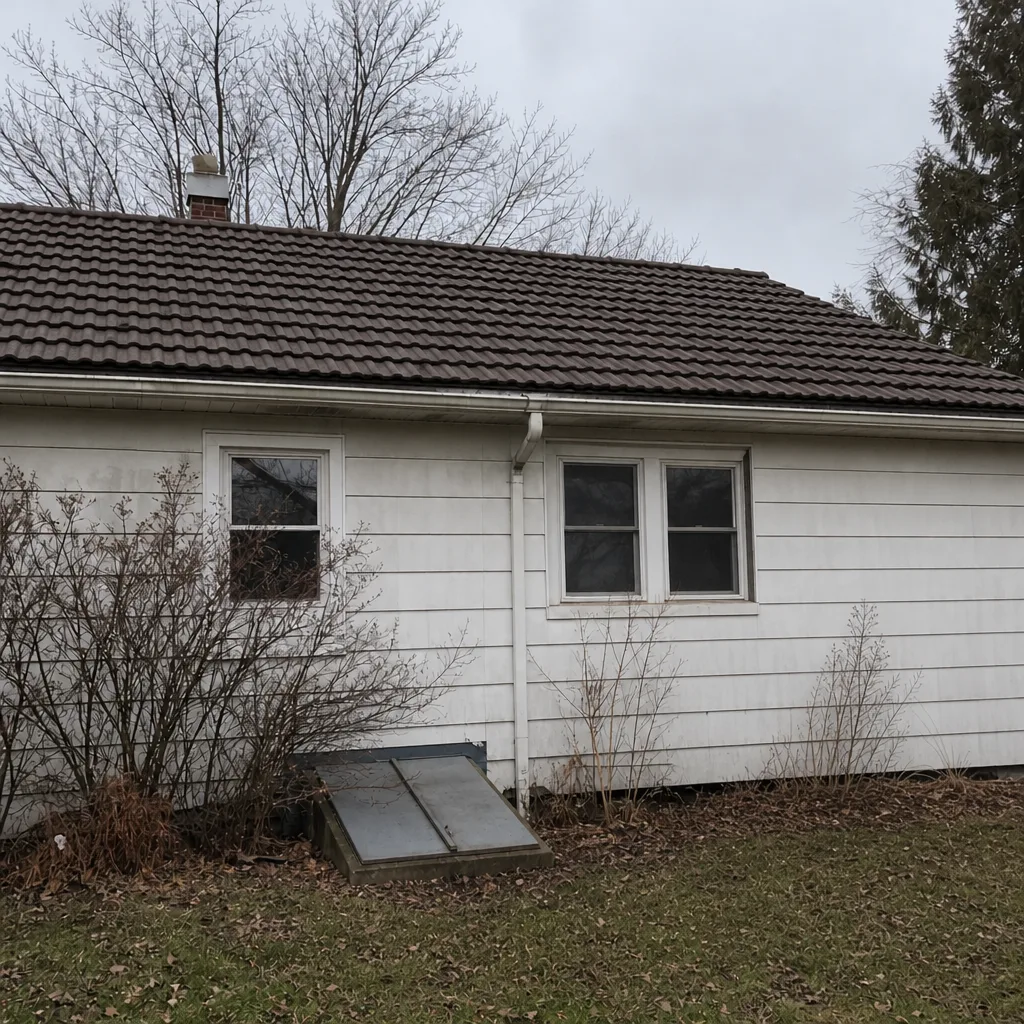 After
When to Call a Professional
Some damage is clearly a call. Anything that involves a hole in the roof, daylight through the attic, water entering the interior, a limb or chimney brick on the roof, or a sagging roofline should be a phone call today. The specific signals in a Syracuse home:
- The roof plane is wet, snow-covered, or sloped above 4:12 and needs a tarp
- The damage is above the first story or above any living space you can’t safely access
- You have more than one leak point or a leak that appeared without an obvious impact
- The damage is paired with an insurance claim and needs a written estimate
- You’ve had ice dams more than one winter in a row
For any of those, Stratford Roof Repair offers free estimates in Syracuse – call (844) 834-3413. Our technicians have up to 15 years of experience, and the first step is an inspection that doesn’t commit you to a repair or a replacement. You’ll know exactly what’s wrong and exactly what it takes to fix it.
Frequently Asked Questions
Every job is priced per job by a written estimate, so it’s more useful to think about the range of possible outcomes than a single number. A documented tarp and minor shingle repair – covered by an inspection – is a smaller job. A storm impact that requires decking, flashing, and finish work in a Syracuse winter is a larger one. The number that matters is the written line-item estimate you get before work starts, and it should be free. Call (844) 834-3413 for an exact quote – estimates are free.
Only when a very narrow set of conditions is met: a single-story roof, a shallow pitch under 4:12, dry weather, no snow or ice on the surface, and a stable ladder. If any of those aren’t true, don’t go up. A fall from a roof is far worse than the damage it’s meant to prevent, and interior containment plus a roofer’s response is the right answer. We answer 24/7, and for a safe temporary cover we can schedule a professional assessment the same day when conditions allow. Call (844) 834-3413.
Most cities require a permit for substantial roof work and above certain repair thresholds, so ask the city’s building department about the specific scope. A roofer who pulls the permit when it’s required protects you in a future sale, in an insurance claim, and at inspection. If you’re unsure about the scope, get an inspection first; it clarifies the work. Call (844) 834-3413 to schedule a free estimate.
Every policy is different, so the definitive answer is in your own policy documents and from your insurer’s claims line. What we can tell you is what helps the claim: documented pre-storm photos, dated notes on the interior response, receipts for temporary materials, and a written estimate from a roofing professional. We can work with your insurer when a claim is part of the process. For the estimate side of the claim, call (844) 834-3413.
The only honest answer comes from an inspection, not a phone diagnosis. A repairable roof is one where the damage is localized – a section of wind-lifted shingles, a failed flashing point, a small impact. A replacement candidate is one where damage shows up across multiple sections, or where the shingles are at end of life. An inspection is a standalone service and doesn’t commit you to either path, so the first step is getting it scheduled. Call (844) 834-3413. Estimates are free, and we’ll tell you if a repair will hold and when it won’t.
Protect what’s below the damage first. Move valuables out of the affected room, place buckets, and photograph everything before you touch anything. Then call your insurer to open the claim and call a roofer to schedule an assessment. If a ceiling is bulging with water, relieve it with a small hole from the side, not underneath. We answer 24/7 at (844) 834-3413, with fast dispatch from 7am to 7pm, Sunday through Friday.
The Bottom Line
Roofing emergencies in Syracuse follow a pattern that’s easy to miss during fair weather: they cluster in the weeks when nobody can help quickly. The prep that matters most – a tarp sized to your largest roof plane, sandbags, interior containment, a documented photo folder, and a roofing contact you’ve already spoken to – costs a fraction of the damage it prevents. Every scenario in this guide, from wind uplift to ice damming to impact penetration, is manageable when the kit and the plan are already in place. And when a repair becomes the necessary answer, it’s cheaper to have scheduled an inspection in October than a water damage claim in February. Call Stratford Roof Repair at (844) 834-3413 for a free estimate. We answer 24/7. Fast dispatch from 7am to 7pm, Sunday through Friday.
Written by the team at Stratford Roof Repair.